Introduction
Welcome to the ultimate Keurig 2.0 User Guide! We are committed to providing you with the most comprehensive and detailed information to help you make the most out of your Keurig 2.0 brewing system. In this guide, we will walk you through every aspect of using your Keurig 2.0, from setup to maintenance, and share expert tips to enhance your brewing experience. Get ready to embark on a journey towards brewing excellence!
Table of Contents
- Section 1: Unboxing and Setup
- Section 2: Brewing Basics
- Section 3: Advanced Brewing Techniques
- Section 4: Maintenance and Troubleshooting
- Section 5: Frequently Asked Questions
Section 1: Unboxing and Setup
When you first receive your Keurig 2.0 brewing system, it’s an exciting moment! Let’s ensure you start off on the right foot with a seamless unboxing and setup process. Follow these steps to get your Keurig 2.0 up and running in no time:
- Remove the brewing system from the packaging and place it on a stable surface.
- Connect the power cord to an electrical outlet.
- Fill the water reservoir with fresh, cold water.
- Insert the K-Cup® pod of your choice into the K-Cup® pod holder.
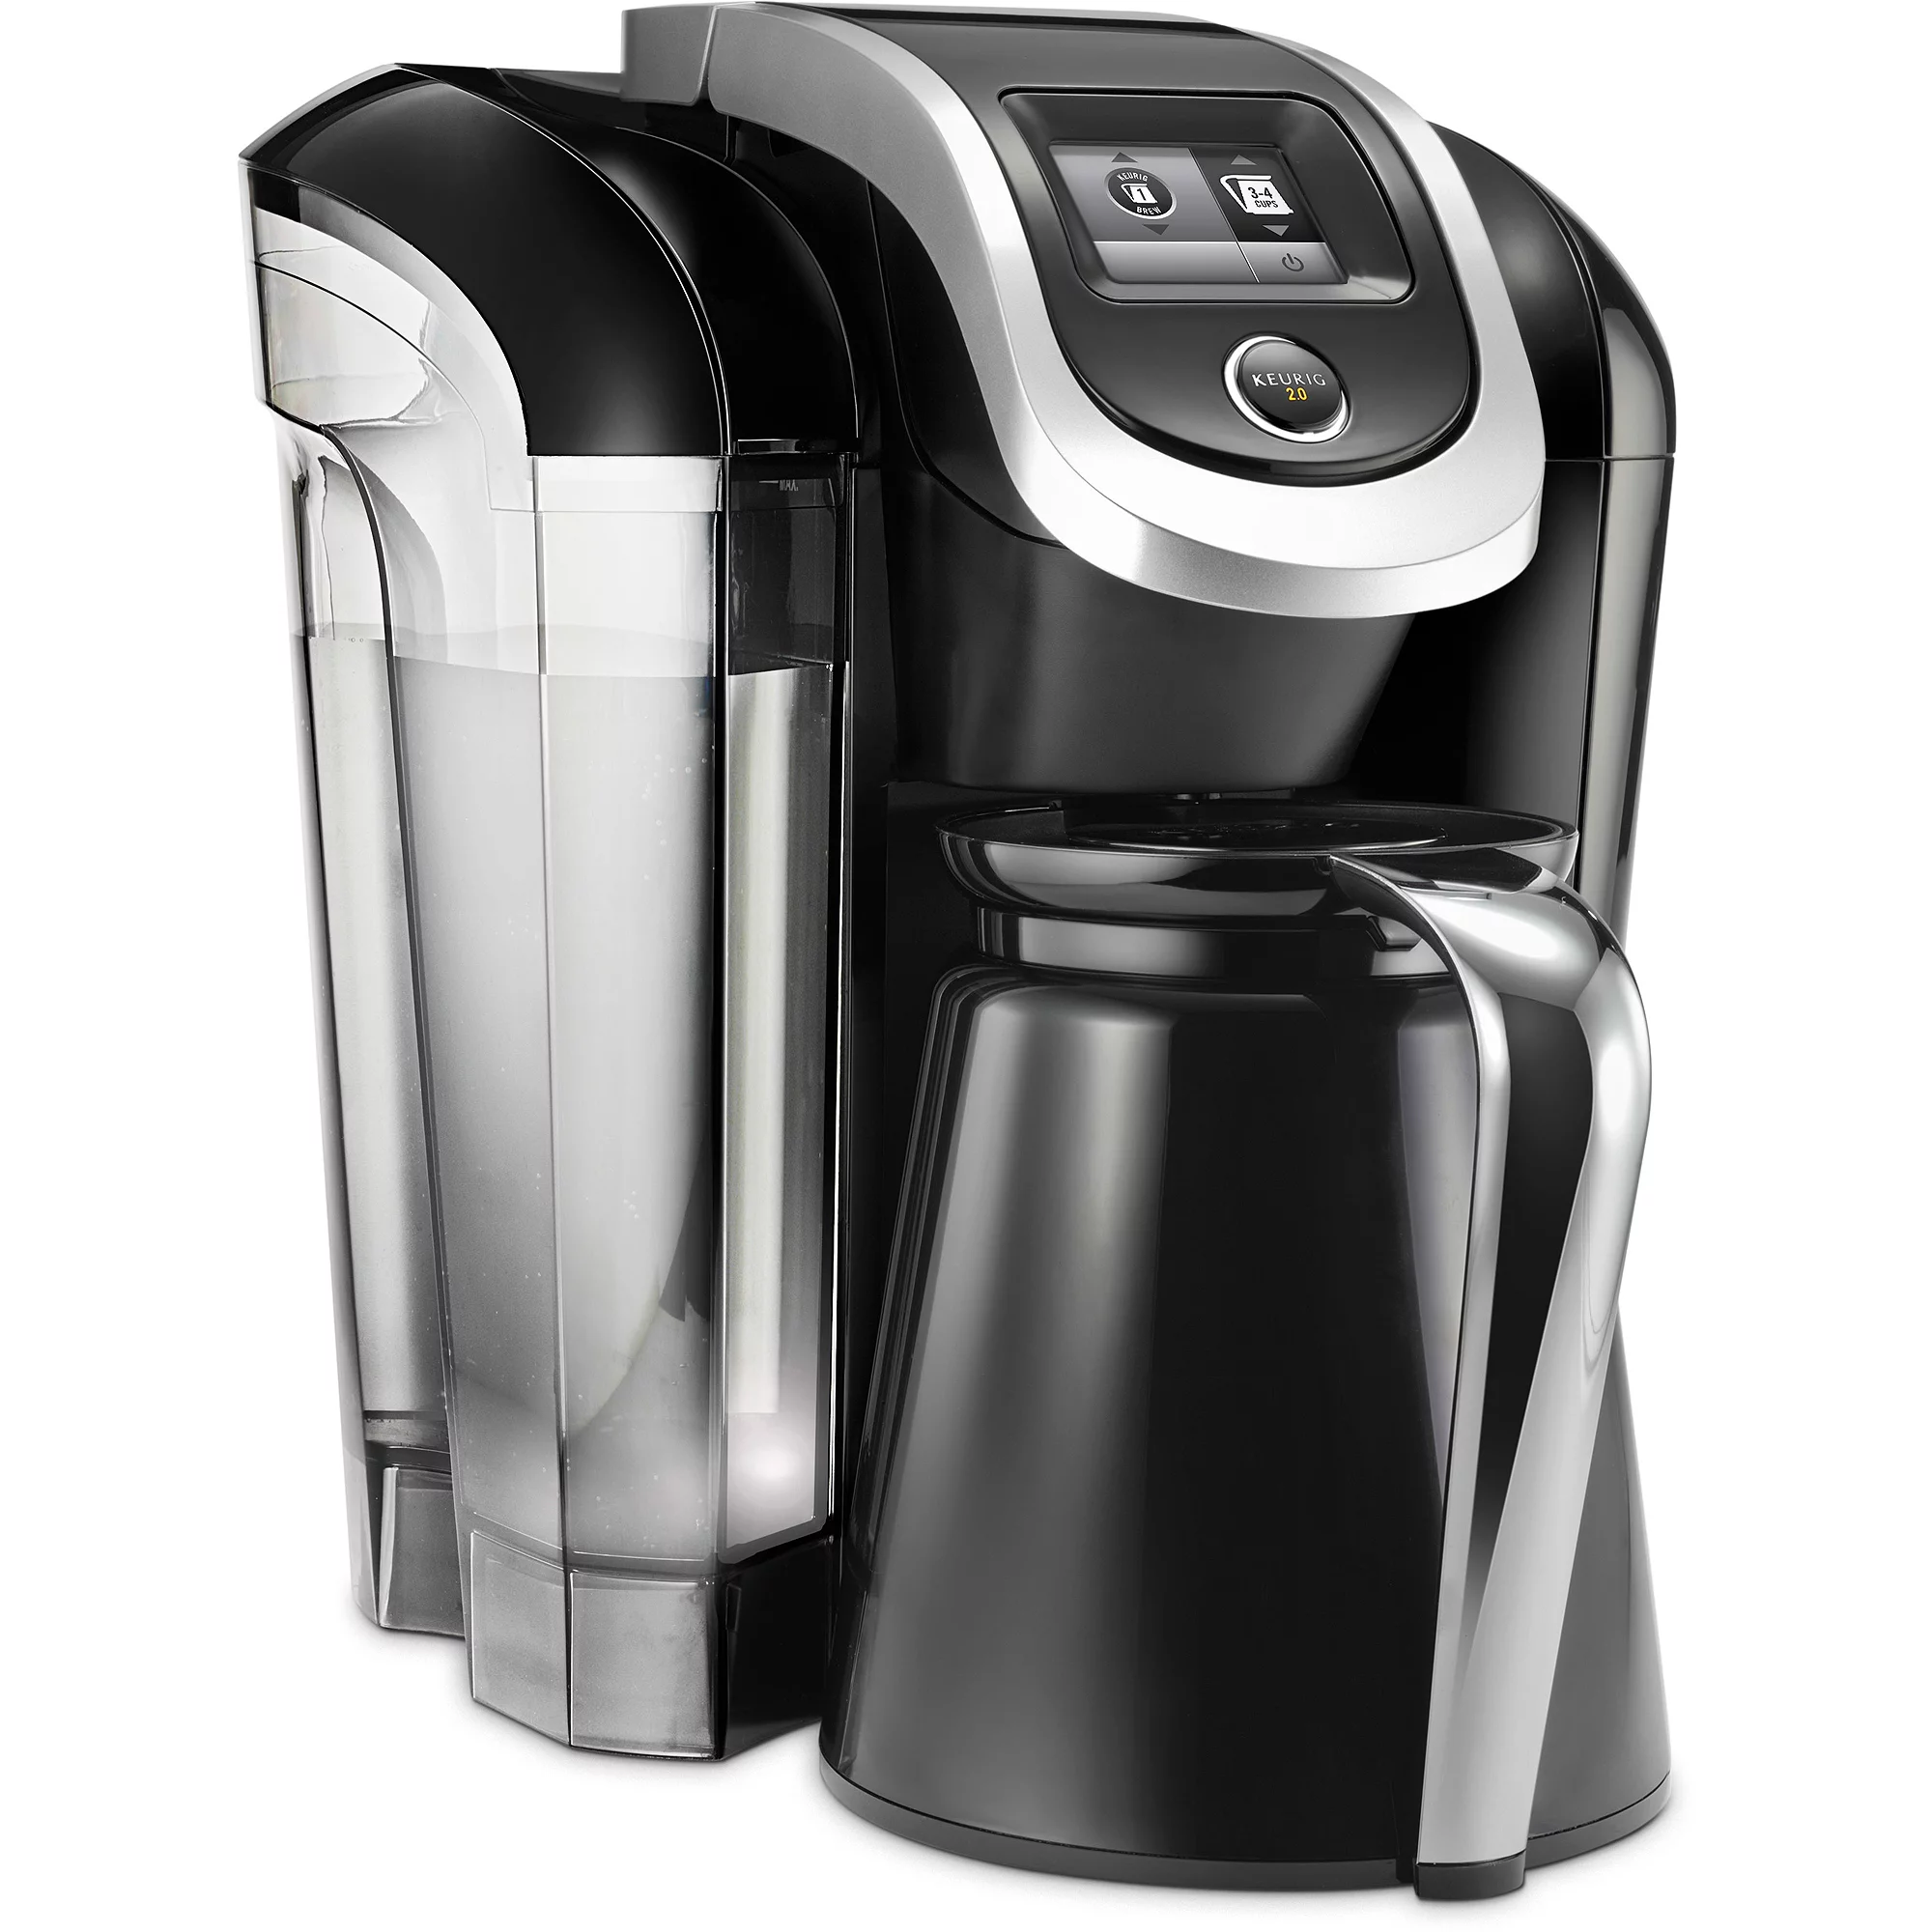
- Select the desired brew size using the intuitive touch display.
- Press the brew button and let your Keurig 2.0 work its magic.
Congratulations! You have successfully set up your Keurig 2.0 brewing system. Now, let’s delve into the brewing basics to ensure you achieve the perfect cup of coffee every time.
Section 2: Brewing Basics
Understanding Brew Sizes
The Keurig 2.0 brewing system offers a variety of brew sizes to cater to your preferences. From a small, concentrated shot to a large travel mug size, you have the flexibility to choose the amount of coffee you desire. Experiment with different brew sizes to find your perfect cup.
Selecting the Right K-Cup® Pod
Choosing the right K-Cup® pod is crucial to achieving a delightful coffee experience. With a vast selection of flavors and brands available, it’s important to consider your personal taste preferences. Whether you enjoy a bold, dark roast or a smooth, medium roast, there’s a K-Cup® pod that suits your palate.
Customizing Your Brew
The Keurig 2.0 brewing system allows you to customize your brew strength and temperature settings. If you prefer a stronger cup of coffee, simply adjust the strength control option. Likewise, you can fine-tune the temperature to ensure your coffee is brewed to perfection. Experiment with these settings to find the ideal combination for your taste buds.
Section 3: Advanced Brewing Techniques
Are you ready to take your brewing skills to the next level? Discover some advanced techniques to elevate your coffee experience with your Keurig 2.0:
1. Cold Brew
Create a refreshing cold brew with your Keurig 2.0 brewing system. Follow these steps:
- Fill a large container with water and ice.
- Place a K-Cup® pod of your choice in the brewer.
- Select the smallest brew size and start the brewing process.
- Once brewed, pour the concentrated coffee over the ice.
- Add milk, sweeteners, or flavorings according to your preference.
- Enjoy a delightful cold brew coffee.
2. Specialty Beverages
Did you know that your Keurig 2.0 can do more than just brew coffee? Expand your options with specialty beverages such as hot chocolate, tea, or even iced beverages. Simply select the appropriate K-Cup® pod and let your Keurig 2.0 work its magic. The possibilities are endless!
Section 4: Maintenance and Troubleshooting
To ensure your Keurig 2.0 brewing system continues to deliver exceptional performance, regular maintenance is essential. Follow these guidelines to keep your brewer in optimal condition:
- Descaling: Over time, mineral deposits can accumulate in your brewer, affecting the taste and performance. Descaling your Keurig 2.0 is a simple process that involves using a descaling solution to remove these deposits.
- Cleaning: Wipe the exterior of your brewer regularly with a damp cloth. For internal cleaning, refer to the user manual for detailed instructions.
- Troubleshooting: In case you encounter any issues with your Keurig 2.0, consult the troubleshooting section of the user manual. It provides step-by-step solutions to common problems.
Section 5: Frequently Asked Questions
In this section, we address some commonly asked questions about the Keurig 2.0 brewing system. Let’s dive right in:
Q: Can I use non-Keurig branded K-Cup® pods in my Keurig 2.0? A: Yes, you can use non-Keurig branded K-Cup® pods in your Keurig 2.0. However, make sure they are compatible with the system to avoid any issues.
Q: How often should I descale my Keurig 2.0? A: It is recommended to descale your Keurig 2.0 every three to six months, depending on the level of mineral buildup in your water.
Q: Can I adjust the brew temperature on my Keurig 2.0? A: Yes, you can customize the brew temperature settings on your Keurig 2.0. This allows you to achieve the perfect cup of coffee based on your preference.
Conclusion
Congratulations! You have reached the end of our Keurig 2.0 User Guide. We hope this comprehensive resource has equipped you with the knowledge and skills to make the most out of your Keurig 2.0 brewing system. Remember, brewing excellence is just a touch away. Happy brewing!