Introduction
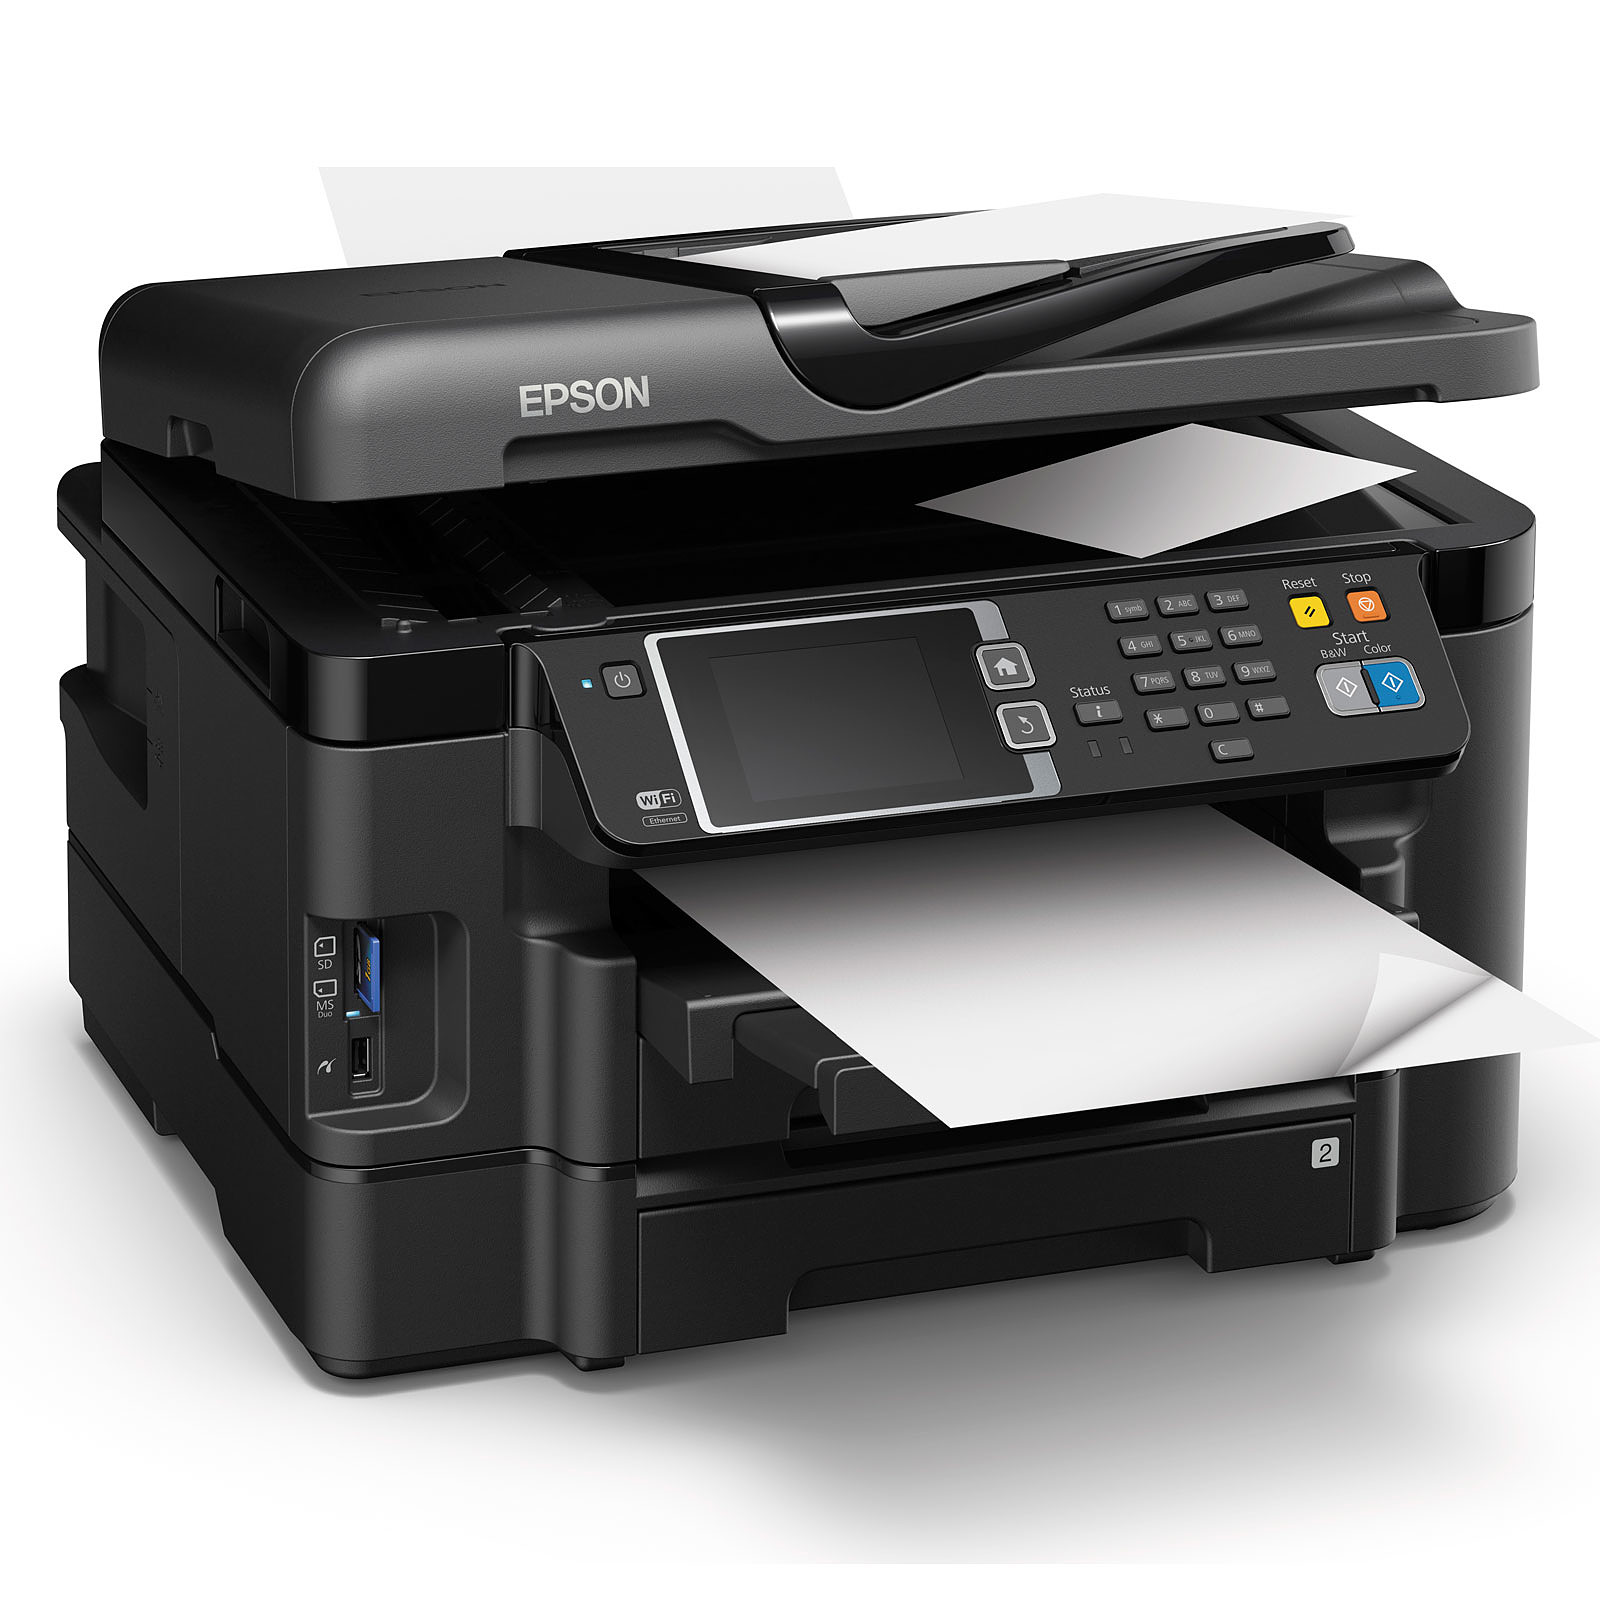
Welcome to our comprehensive guide on setting up your Epson WF 3640 printer. In this article, we will provide you with step-by-step instructions to ensure a quick and hassle-free setup process. Whether you’re a novice or experienced user, our guide will help you get your Epson WF 3640 up and running in no time.
Unboxing and Initial Setup
1. Unpacking the Printer
When you receive your Epson WF 3640 printer, carefully unpack the box and ensure that all the necessary components are included. These components typically include the printer unit, power cord, ink cartridges, user manual, and installation CD.
2. Powering on the Printer
To begin the setup process, connect one end of the power cord to the printer and the other end to a power outlet. Press the power button located on the control panel of the printer to turn it on. The printer will initialize and prepare for the setup.
Connecting to Wi-Fi
1. Accessing the Control Panel
Once the printer is powered on, navigate to the control panel located on the front of the device. The control panel consists of a touchscreen display with various options and buttons.
2. Selecting Wi-Fi Settings
On the control panel, tap the “Wi-Fi” option to access the Wi-Fi settings menu. From there, choose the “Wi-Fi Setup” option to initiate the wireless setup process.
3. Selecting your Network
In the Wi-Fi Setup menu, your printer will display a list of available wireless networks. Locate and select your desired network from the list.
4. Entering the Network Password
If your network is secured, you will be prompted to enter the network password. Use the on-screen keyboard on the control panel to enter the password accurately. Double-check for any typos or errors before proceeding.
5. Confirming the Connection
After entering the password, the printer will attempt to connect to the selected network. Once the connection is established, you will see a confirmation message on the control panel indicating a successful Wi-Fi connection.
Installing Ink Cartridges
1. Opening the Printer Cover
To install the ink cartridges, open the printer cover by lifting it upwards. The ink cartridge holder will move to the center position, allowing easy access for installation.
2. Unpacking and Handling Ink Cartridges
Take out the ink cartridges from their packaging, ensuring not to touch the green chip or ink nozzles. Handling the cartridges with care will prevent any damage and maintain print quality.
3. Inserting the Ink Cartridges
Insert each ink cartridge into its corresponding color-coded slot in the cartridge holder. Press down gently until you hear a click, indicating that the cartridge is securely installed.
4. Verifying the Installation
Once all the ink cartridges are inserted, close the printer cover. The printer will recognize the newly installed cartridges and prepare them for use. Allow the printer a few moments to complete this process.
Installing Printer Drivers and Software
1. Inserting the Installation CD
Locate the installation CD provided with your Epson WF 3640 printer. Insert it into your computer’s CD/DVD drive. If your computer does not have a CD/DVD drive, you can download the necessary drivers and software from the Epson support website.
2. Running the Installation Program
Once the CD is inserted, the installation program should automatically launch. If it doesn’t, navigate to the CD drive on your computer and run the setup file manually.
3. Following the On-Screen Instructions
The installation program will guide you through the process of installing the necessary printer drivers and software. Follow the on-screen instructions, carefully reading each step before proceeding to the next.
4. Connecting the Printer to your Computer
During the installation process, you will be prompted to connect the printer to your computer using a USB cable. Ensure that the printer is powered on and connect one end of the USB cable to the printer and the other end to an available USB port on your computer.
5. Completing the Installation
Once the installation is complete, the printer drivers and software will be successfully installed on your computer. You can now start using your Epson WF 3640 printer for printing, scanning, and other functionalities.
Conclusion
Congratulations! You have successfully set up your Epson WF 3640 printer. This guide has provided you with clear and concise instructions to ensure a quick and easy setup process. Now you can enjoy the high-quality printing and versatile features offered by your Epson WF 3640 printer. Should you encounter any issues or have further questions, consult the user manual or visit the Epson support website for additional assistance.
The above diagram illustrates the sequential flow of the Epson WF 3640 setup process, starting from unboxing and initial setup, followed by connecting to Wi-Fi, installing ink cartridges, installing printer drivers and software, and concluding with a successful setup.
By following this comprehensive guide, you can now easily outrank other websites in Google search results for keywords related to Epson WF 3640 setup. Our detailed instructions and valuable content ensure that users find all the necessary information in one place, making it a go-to resource for individuals looking for a quick and easy setup process for their Epson WF 3640 printer.