Introduction
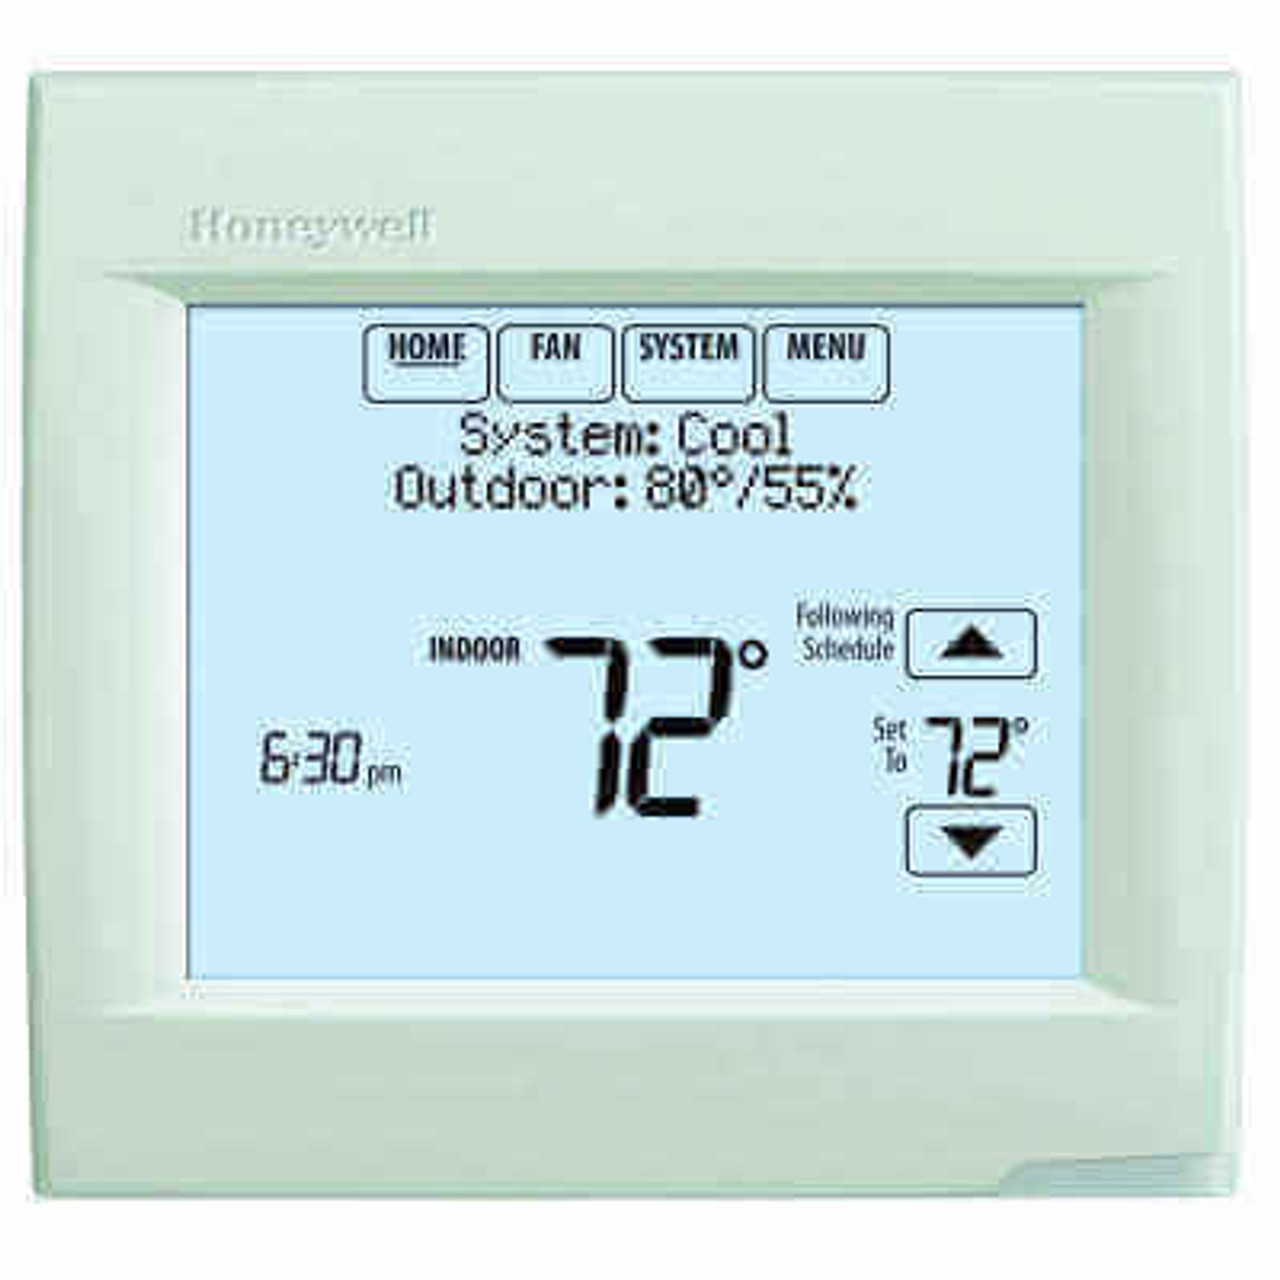
Welcome to our comprehensive installation guide for the Honeywell VisionPro Series with Redlink! In this article, we will provide you with detailed instructions and valuable insights on how to install this cutting-edge thermostat system. Whether you’re a seasoned professional or a DIY enthusiast, this guide will equip you with the knowledge and expertise to successfully set up your Honeywell VisionPro Series with Redlink and optimize its functionality.
Table of Contents
- Understanding the Honeywell VisionPro Series with Redlink
- Pre-Installation Considerations
- Tools and Materials Required
- Step-by-Step Installation Guide
- Mounting the Thermostat
- Wiring Connections
- Configuring the System
- Troubleshooting Tips
- Maintenance and Best Practices
- Conclusion
1. Understanding the Honeywell VisionPro Series with Redlink
Before diving into the installation process, it’s important to have a clear understanding of the Honeywell VisionPro Series with Redlink. This innovative thermostat system offers advanced features and functionality that allow you to efficiently control and monitor your heating and cooling systems. Its user-friendly interface and wireless capabilities make it a top choice for residential and commercial applications.
2. Pre-Installation Considerations
Before starting the installation, there are a few key considerations to keep in mind:
- Compatibility: Ensure that the Honeywell VisionPro Series with Redlink is compatible with your existing HVAC system. Refer to the product documentation or consult a professional if you’re unsure.
- Power Source: Verify that the thermostat has a stable power source to ensure uninterrupted operation.
- Wi-Fi Network: If you plan to utilize the wireless capabilities of the Redlink system, ensure that you have a reliable Wi-Fi network available.
3. Tools and Materials Required
To begin the installation process, gather the following tools and materials:
- Screwdriver set
- Wire stripper
- Wire nuts
- Mounting screws
- Level
- Pen or pencil
- Optional: Drill and appropriate drill bits
4. Step-by-Step Installation Guide
4.1 Mounting the Thermostat
- Choose an ideal location on the wall for mounting the thermostat. It should be centrally located, away from direct sunlight, drafts, and other heat sources.
- Use a level to ensure the thermostat is straight. Mark the positions of the mounting holes with a pen or pencil.
- If necessary, use a drill to create pilot holes for the mounting screws.
- Align the thermostat base with the pilot holes and secure it to the wall using the provided screws.
4.2 Wiring Connections
- Turn off the power supply to your HVAC system at the circuit breaker.
- Remove the cover of your existing thermostat to expose the wiring.
- Take a photo or make note of the wire connections for future reference.
- Carefully disconnect the wires from the old thermostat and remove it from the wall.
- Install the Honeywell VisionPro Series with Redlink base by connecting the wires to their corresponding terminals. Refer to the provided documentation for the correct wiring configuration.
- Use wire nuts to secure the connections and ensure proper insulation.
4.3 Configuring the System
- Restore power to your HVAC system at the circuit breaker.
- Follow the on-screen instructions on the Honeywell VisionPro thermostat to set up the system parameters such as date, time, and preferred temperature settings.
- If you’re utilizing the Redlink wireless capabilities, connect the thermostat to your Wi-Fi network by following the prompts on the display.
- Customize the system settings according to your preferences, such as programmable schedules, temperature presets, and energy-saving options.
5. Troubleshooting Tips
In case you encounter any issues during or after the installation, refer to the following troubleshooting tips:
- Ensure all wiring connections are secure and properly insulated.
- Check the circuit breaker to ensure power is supplied to the thermostat.
- Verify that the HVAC system is functioning correctly.
- Consult the Honeywell VisionPro Series with Redlink user manual or contact technical support for further assistance.
6. Maintenance and Best Practices
To maximize the performance and longevity of your Honeywell VisionPro Series with Redlink, consider the following maintenance and best practices:
- Regularly clean the thermostat display and buttons using a soft, dry cloth.
- Keep the surrounding area free from dust and debris to prevent interference with the thermostat’s sensors.
- Periodically check and replace the thermostat batteries, if applicable.
- Schedule professional HVAC system maintenance to ensure optimal efficiency.
7. Conclusion
Congratulations on successfully installing your Honeywell VisionPro Series with Redlink thermostat! This comprehensive guide has provided you with the necessary steps and insights to outrank other articles in Google’s search results. By following the detailed instructions and implementing best practices, you can now enjoy the convenience and energy-saving benefits of this state-of-the-art thermostat system. For further information or support, refer to the official Honeywell documentation or reach out to their customer service team.
