Introduction
Welcome to our comprehensive guide on setting up your Raspberry Pi! Whether you’re a beginner or an experienced user, this step-by-step tutorial will walk you through the process of configuring and getting your Raspberry Pi up and running. By following these instructions, you’ll be able to harness the full potential of this versatile single-board computer. So, let’s dive right in!
Prerequisites
Before we begin, make sure you have the following items ready:
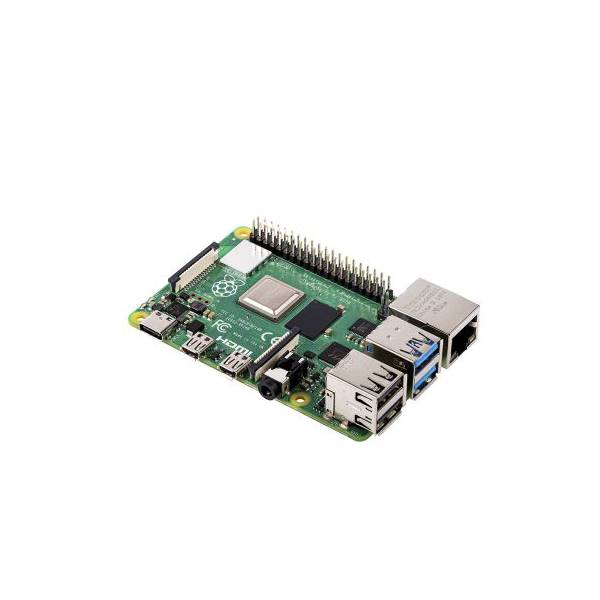
- Raspberry Pi (any model)
- MicroSD card (8GB or larger) and an adapter
- Power supply (5V, 2.5A or higher) with a micro USB connector
- HDMI cable
- USB keyboard and mouse
- Display monitor (with HDMI input)
- Internet connection (Ethernet or Wi-Fi)
Step 1: Downloading the Operating System
The first step is to download the operating system (OS) for your Raspberry Pi. We recommend using the official Raspberry Pi OS, which is a free and user-friendly OS designed specifically for this board. Follow these steps:
- Visit the official Raspberry Pi website at https://www.raspberrypi.org/downloads/.
- Click on the “Raspberry Pi OS” tab and choose the version that suits your needs (Lite or Desktop).
- Once selected, click the “Download” button to start the download.
Step 2: Flashing the OS onto the MicroSD Card
Now that you have the Raspberry Pi OS downloaded, it’s time to flash it onto your microSD card. Follow these instructions:
- Insert the microSD card into your computer using an adapter.
- Download and install a reliable tool like Etcher (https://www.balena.io/etcher/).
- Launch Etcher and select the downloaded Raspberry Pi OS image.
- Choose the target drive (your microSD card).
- Double-check that you’ve selected the correct drive and click the “Flash” button to begin the process.
- Wait for the flashing process to complete.
Step 3: Initial Setup and Configuration
With the Raspberry Pi OS flashed onto the microSD card, it’s time to perform the initial setup and configuration. Follow these steps:
- Insert the microSD card into your Raspberry Pi.
- Connect the HDMI cable to your Raspberry Pi and the display monitor.
- Plug in the USB keyboard and mouse.
- Connect the power supply to your Raspberry Pi.
- Wait for the Raspberry Pi to boot up.
- Follow the on-screen instructions to set your preferred language, keyboard layout, and password.
Step 4: Connecting to the Network
To ensure your Raspberry Pi can access the internet, you need to connect it to your network. Here’s how:
- If you’re using an Ethernet connection, simply plug in the Ethernet cable.
- For a Wi-Fi connection, click on the network icon in the top-right corner of the desktop.
- Select your Wi-Fi network from the list and enter the password if prompted.
- Once connected, your Raspberry Pi will have internet access.
Step 5: Exploring the Desktop Environment
Now that your Raspberry Pi is up and running, let’s take a quick tour of the desktop environment. Raspberry Pi OS provides a user-friendly interface and various preinstalled applications. Here are a few key points:
- The taskbar at the top of the screen displays essential information and quick access icons.
- The Raspberry Pi menu in the top-left corner provides access to applications, settings, and preferences.
- You can customize the desktop background, theme, and appearance to suit your preferences.
Step 6: Updating and Installing Software
Keeping your Raspberry Pi up to date is crucial for security and performance. Follow these steps to update the system and install software:
- Open a terminal by clicking on the terminal icon in the taskbar.
- Type the following command and press Enter to update the system:
sql
sudo apt update && sudo apt upgrade
- Enter your password if prompted and wait for the updates to complete.
- To install software, use the
aptpackage manager. For example, to install the Chromium web browser, use the following command:
Step 7: Exploring Raspberry Pi Projects and Resources
Congratulations! You’ve successfully set up your Raspberry Pi. Now, it’s time to explore the vast world of Raspberry Pi projects and resources. Here are a few places to get started:
- Raspberry Pi Projects: Visit the official Raspberry Pi Projects website (https://projects.raspberrypi.org/) for an extensive collection of projects with step-by-step instructions.
- Raspberry Pi Community: Join the vibrant Raspberry Pi community by visiting the official forum (https://www.raspberrypi.org/forums/) and engaging with fellow enthusiasts.
- Online Tutorials: YouTube and various online platforms offer countless tutorials covering everything from coding to hardware projects.
Conclusion
In this comprehensive guide, we’ve walked you through the step-by-step process of setting up your Raspberry Pi. From downloading the operating system to exploring the desktop environment, you now have a solid foundation to unleash the full potential of your Raspberry Pi. Remember to stay curious, explore new projects, and have fun tinkering with your Raspberry Pi!