We understand the importance of a seamless and user-friendly setup process for Apple Watch users. We believe that setting up your Apple Watch should be a hassle-free experience that allows you to start enjoying all the features and benefits of this remarkable device right away. In this comprehensive guide, we will walk you through the simplified Apple Watch setup process, ensuring that you have a smooth and efficient journey from unboxing to wrist-ready.
Unboxing and Getting Started
When you first receive your Apple Watch, unboxing it is an exciting moment. The sleek design and cutting-edge technology make it a truly remarkable accessory. To begin the setup process, follow these steps:
- Power on your Apple Watch by pressing and holding the side button until the Apple logo appears.
- Pair your Apple Watch with your iPhone by bringing the two devices close together.
- Your iPhone will automatically recognize the Apple Watch, and a prompt will appear on your screen. Tap “Continue” to proceed.
Configuring Language and Region Settings
Once the pairing process is complete, it’s time to configure your Apple Watch’s language and region settings to match your preferences. Follow these simple steps:
- On your iPhone, you will be prompted to choose your preferred language and region. Select the appropriate options for you.
- Your Apple Watch will sync with your iPhone, and the chosen settings will be applied automatically.
Personalizing Your Apple Watch
Now that the initial setup is complete, it’s time to personalize your Apple Watch and make it uniquely yours. Here’s how you can do it:
Watch Faces
The Apple Watch offers a wide range of watch face options, allowing you to customize its appearance to suit your style and needs. To change your watch face:
- On your Apple Watch, swipe left or right to browse through the available watch faces.
- Once you’ve found a watch face you like, tap on it to select it.
- You can further customize the chosen watch face by adding complications, which provide quick access to your favorite apps and information.
App Layout
Organizing the app layout on your Apple Watch ensures easy access to your most-used apps. Here’s how you can arrange your app layout:
- On your iPhone, open the Apple Watch app.
- Tap on “My Watch” at the bottom of the screen.
- Select “App Layout” to arrange your apps.
- Drag and drop the app icons to your preferred positions, and make sure to save the changes.
Syncing Apps and Data
To enhance your Apple Watch experience, it’s essential to sync your favorite apps and data from your iPhone. Follow these steps to ensure a seamless integration:
- On your iPhone, open the Apple Watch app.
- Tap on “My Watch” at the bottom of the screen.
- Select “Installed Apps” to view a list of compatible apps.
- Scroll through the list and tap on the apps you want to install on your Apple Watch.
- Once selected, wait for the apps to sync with your Apple Watch. This may take a few moments depending on the size and number of apps.
Setting up Notifications
The Apple Watch allows you to receive notifications directly on your wrist, keeping you connected at all times. To set up notifications:
- On your iPhone, open the Apple Watch app.
- Tap on “My Watch” at the bottom of the screen.
- Select “Notifications” to customize your preferences.
- Choose which apps you want to receive notifications from on your Apple Watch.
- Customize the notification settings for each app to suit your preferences.
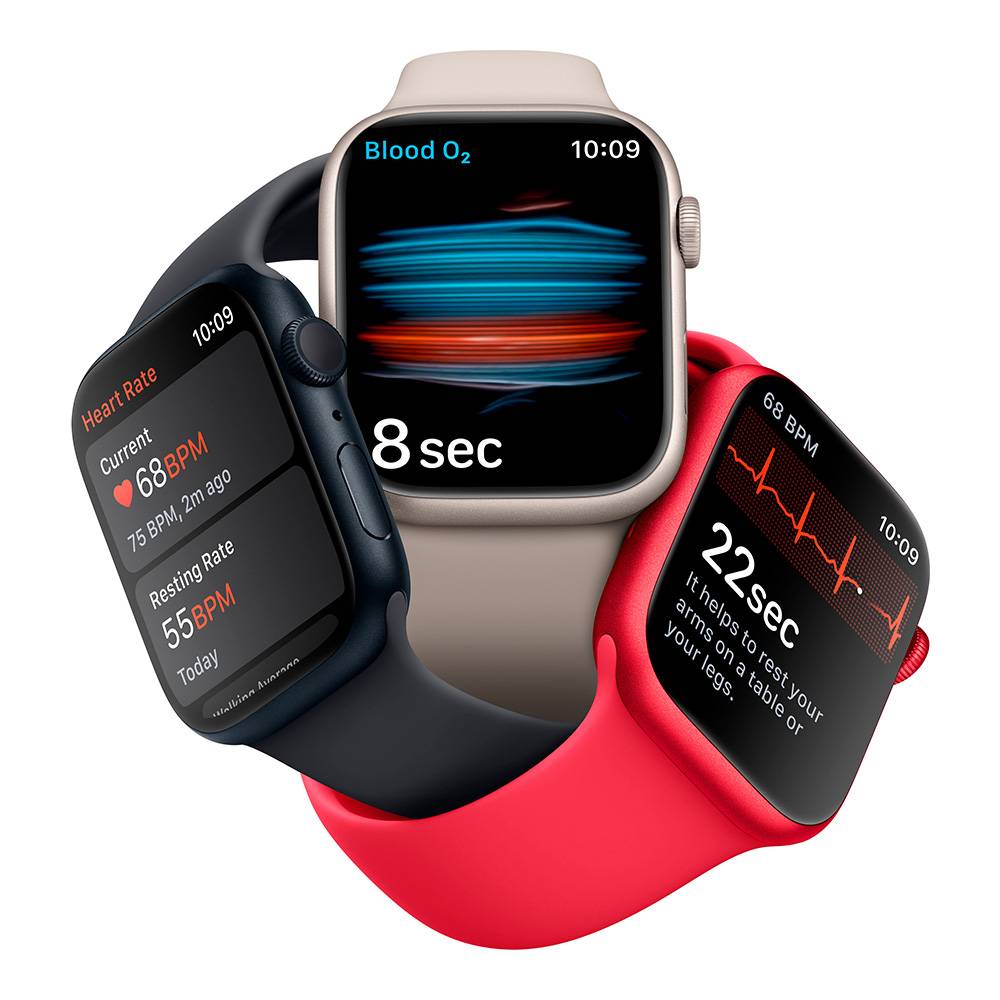
Health and Fitness Tracking
One of the key features of the Apple Watch is its health and fitness tracking capabilities. To ensure accurate tracking and personalized data, follow these steps:
- On your iPhone, open the Apple Watch app.
- Tap on “My Watch” at the bottom of the screen.
- Select “Health” to customize your health and fitness settings.
- Enable or disable the options that align with your health goals and preferences.
- Adjust the settings for various health and fitness features, such as activity tracking, heart rate monitoring, and sleep tracking.
Battery Life Optimization
To make the most of your Apple Watch battery and extend its life between charges, consider the following tips:
- Adjust the display brightness to a comfortable level.
- Disable unnecessary notifications and app refresh.
- Turn on “Theater Mode” when in dark environments.
- Use Power Reserve mode when the battery is critically low.
Conclusion
Congratulations! You have successfully simplified the Apple Watch setup process. By following this comprehensive guide, you can now enjoy the full functionality and convenience of your Apple Watch without any unnecessary complications. Remember to explore the various features and capabilities of your Apple Watch to unlock its true potential. Stay connected, stay fit, and stay stylish with your Apple Watch!